 |
| Wrapped Wire and Bead choker by Visual Punctuation |
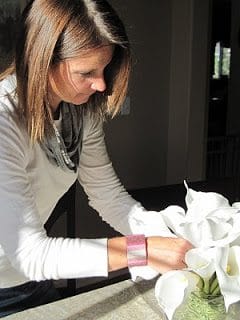
Visual Punctuation offers unique woven bead cuff bracelets and elegant wire wrapped chokers that always make a statement. I own several pieces and receive adoring comments every time I wear them. I am featuring this wonderful ETSY shop on Elysian Studios this week, and took some time to catch up with the owner, and my dear friend, Liz Naikelis. Elysian:”Visual Punctuation is a fabulous name, how did you come up with it?” Visual Punc:”A friend of mine was in a business meeting where the phrase “visual punctuation” was being thrown around. She said the phrase made her think of how it is when I walk into the room. She knows me from my working girl days when I used to dress to the nines. I don’t think my current attire of yoga pants and tee shirt is anything to get too worked up about!”
 |
| Woven Bead Cuff by Visual Punctuation |
Elysian: “What is your background, and why did you decide to make jewelry?” Visual Punc: “I have a degree in fashion design, and am now freelancing after several years of working for other designers. I really don’t know how I decided to make these bracelets. I just bought a bead loom one day, to learn something new and pass the time, and this is what I came up with. Originally I wanted to do beaded purses, but it wouldn’t be feasible time/cost wise. I am working on developing some credit card holders.” Elysian: “How long does it take to make one of your pieces?” Visual Punc: “The bead loom pieces (which sell for about $90) take about six hours to make. After designing the piece, you have to weave the beads, weave in the ends, and finally hand sew it to a piece of ultra suede. My wire wrapped pieces take several hours, and are beads strung on wire and wrapped around a metal base.”
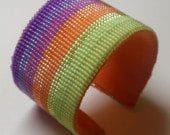 |
| Beaded Cuff Bracelet $90 |
Elysian: “What are your ETSY favorites right now?” Visual Punc: “Vintage ceramic birds, decorative wooden frames, hand-painted silk scarves, and mod plates!” Elysian: “What music is playing in the studio these days?”
Visual Punc: “Frightened Rabbit, Edward Sharpe, The Mountain Goats, and Broadway Soundtracks “
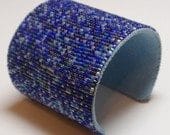 |
| Beaded Cuff Bracelet by Visual Punctuation $125 |
One quality that really sets these pieces apart is their craftsmanship. I wear my cuff and choker frequently and there has never been an issue with the integrity of construction. The ultra suede on the underside of my bracelet is so soft and it fits around my wrist wonderfully-no twisting or sliding around! Both the cuff and choker are easy to get on and off since they have no clasps to fumble with. I look forward to acquiring more pieces in the future!
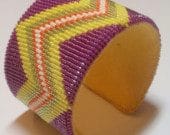 |
| Beaded Cuff Bracelet by Visual Punctuation $90 |
Please stop by Etsy.com and visit Liz’s wonderful shop, Visual Punctuation. She has 100% positive feedback and a large inventory to choose from. Currently, there are no wire wrapped pieces available, as they are being shown to a retailer who has carried her creations before!


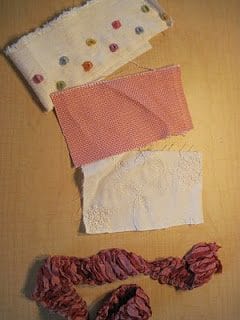
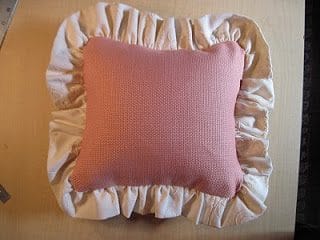
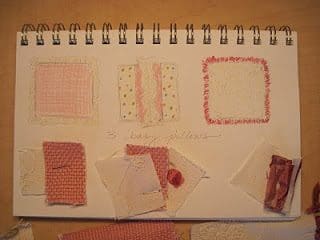
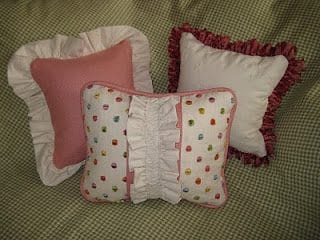 Pillows add a special touch to any room, and I recently made these three for a baby shower to celebrate my cousin’s new baby girl. They are 8 inch square pillows, so they come together quickly and are a sweet size for a little girl to tote around her room! If you have ever wanted to experiment with new details like ribbon trim or ruffles, this is a great project to start with since it requires such little material. When decorating, using three of an element looks very put together, especially if they coordinate. I first sketched my designs for the pillows, and picked my materials, ensuring I have a group of pillows that look harmonious.
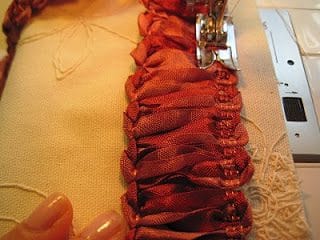
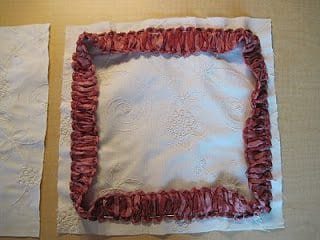 Sew your trim in place, paying attention to the stitch lines on the trim itself, making sure you sew on top of them.
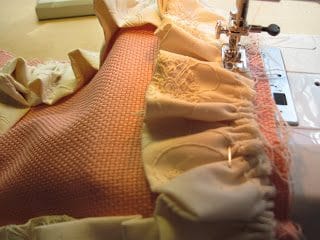
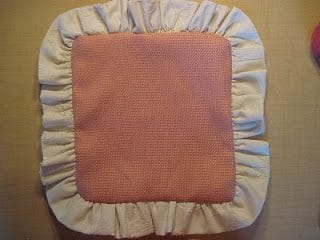
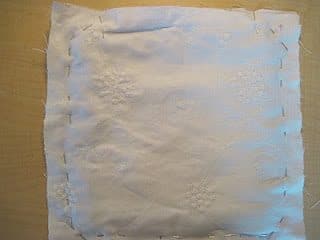 In preparation to sew, peek at your trim sandwiched between the fabric layers, to ensure it is laying correctly. Doing this also helps remind you where the stitch lines of the trim are, as you want to make sure these are sewn into the seam and not visible on the final product. Sew the two sides together.
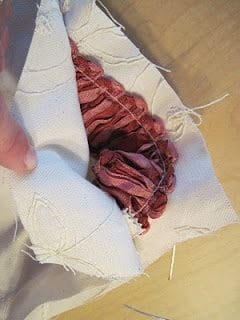
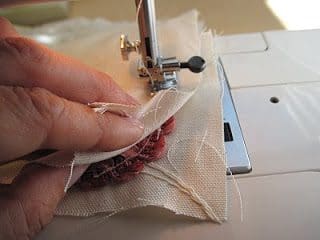 Once completed, turn your pillow right-side out, and snip the filament on the outside edge of the trim to release the fringe.
 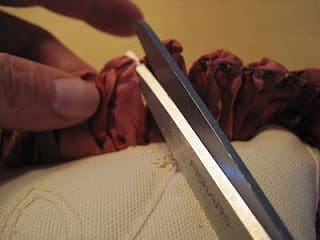 Stuff the pillow and fluff the fringe as needed!
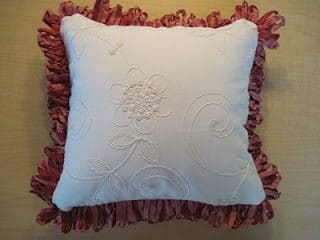
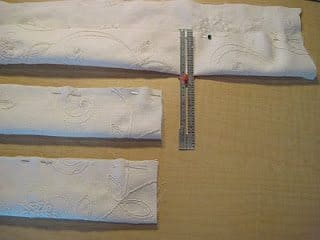 The easiest way I found to gather your ruffle is to pull a piece of thread from your spool that is a few inches longer than your fabric strip and then sew a loose zigzag stitch on top of it. Do this according to the seam allowance you accounted for, so I stitched mine 1/2 inch from the edge.
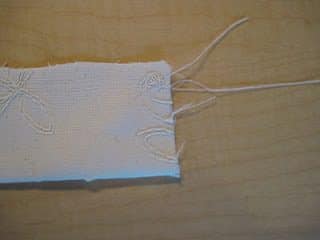 Now you will start to GENTLY pull the long straight thread to gather your ruffle to the fullness you desire.
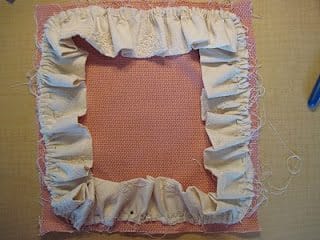
 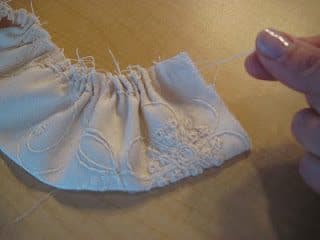 Pin your ruffle trim on the right side of one of your fabric squares in the same manner described for the ribbon trim above.