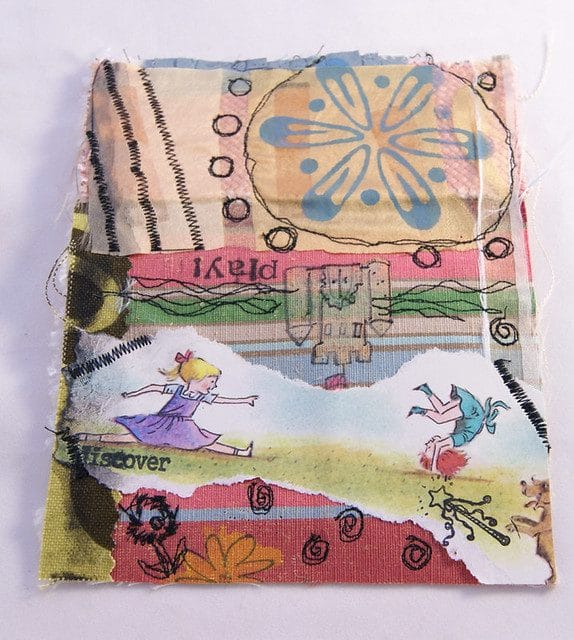
I am excited to be working on a new series of small, mixed-media collages! About 5 inches x 7 inches in size, these are combinations of cloth, thread, paper, paint, stamps and ink, with some beaded embellishments to come. My goal for this work is to loosen up and see what wonderful little accidents happen! As a result, I will better understand how materials work together to create beautiful effects in my art.
 I wrote about thread-painting awhile ago, and am finally back working with the same technique. I am referring to it as “thread sketching” here, because I am only using black and focusing solely on line. These are experimental collage pieces, so nothing was planned in advance.
I love this technique! It can be a little intimidating to get started, but a small project like this is a perfect place to begin! I am not outlining how to make the collages here (sorry! I got ahead of myself and neglected to take photos!), however, that would be a fun tutorial to put together in the future!
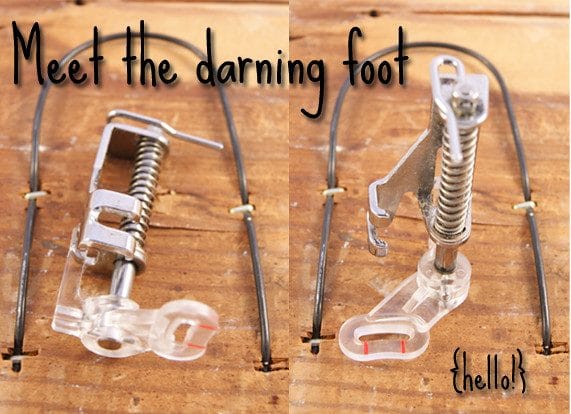
For the thread-sketching technique you will need a sewing machine, several spools of thread, a bobbin filled with matching thread, and a darning foot for your machine. I bought mine at a local specialty sewing store, but Amazon.com has a selection available. You will need to drop the feed dogs of your machine, and you may need to consult your manual to do so.
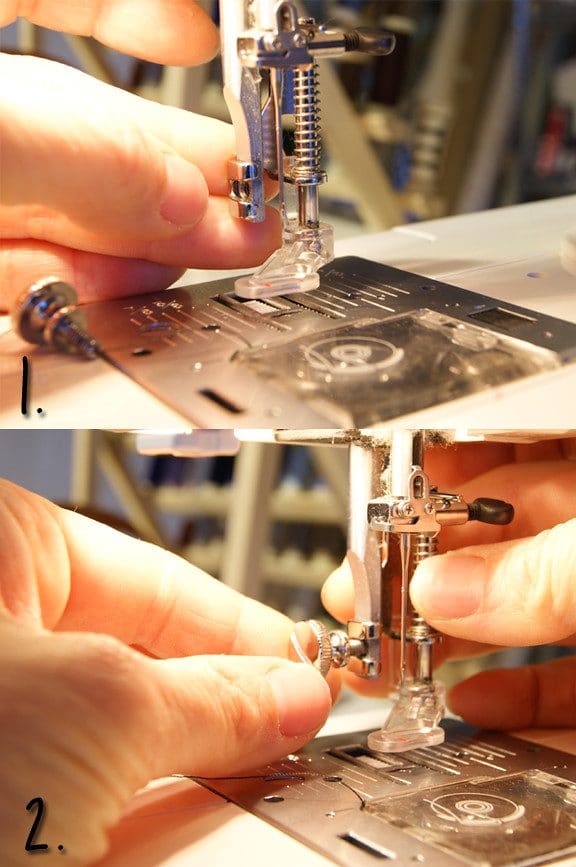
You will need to remove your current presser foot, and install the darning foot (1). Securely reattach the screw on the presser foot to ensure stability (2). Save the packaging that your darning foot came with, as this will remind you what thread length, width and tension are appropriate to use on your machine.
Don’t forget to drop the feed dogs! They help grip fabric and guide it straight through under your presser foot. For this technique you don’t want that! Set your machine to the “Zig-Zag” stitch. Have a scrap piece of fabric handy to practice on and experiment with different widths. A width of “0” will give you a straight line, whereas widths of “3” and “5” give you more of a zig-zag look.
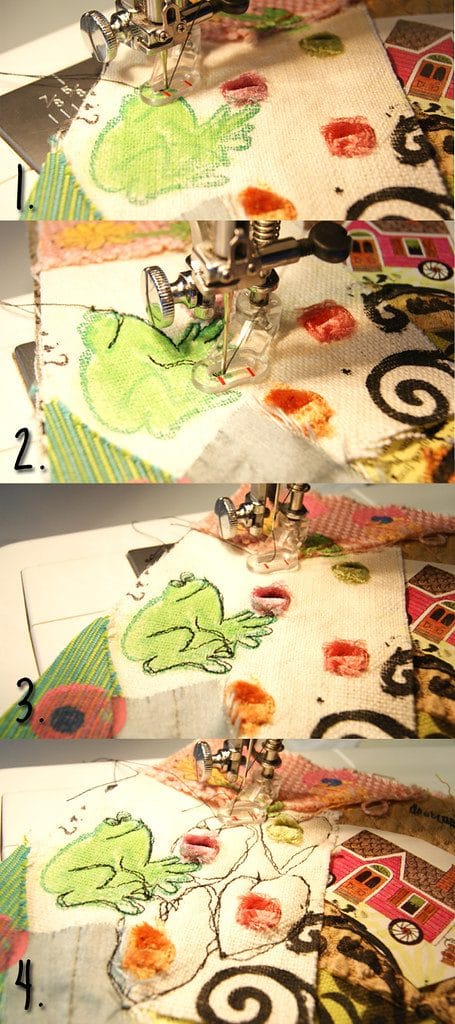
Once you feel comfortable with how thread-sketching is going to work, dive in and get started:

1. To begin, pick a place on your work that is sort of “obvious” as to what you should do. For instance, it was easy to determine that I could follow the lines of this little froggy!
2. Then just start tracing, and adjust the speed as you need. I like to double my lines, and I don’t worry if they get a bit wavy!
3. As you start working, you’ll begin to make intuitive decisions. I felt that it would look better to leave his back alone! You’ll have some mistakes, and they will get better the more you practice (look at my cross-eyed froggy!) Ah well, he’s still cute!
4. Think about what you can sketch in the empty areas of fabric. I felt like froggy needed some lily pads to sit on, and he already had those colorful flower puffs around him. As you begin to create a story for your piece, this becomes a meaningful and therapeutic process!
You can see how much thread-sketching can add to your collage by comparing the “before” and “after” of this piece:
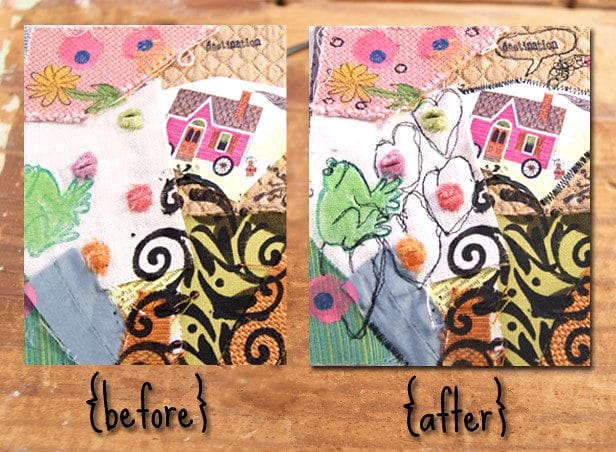
I’m not finished at this stage! These little pieces need some hand-beaded embellishments, as well as a hand-stitched binding to finish the edges. After that, I will need to consider display! Not every piece will make the “final cut” when you do an experimental series. That’s why it’s nice to do a large number at once!
Here’s a few more examples from the series I’m working on:
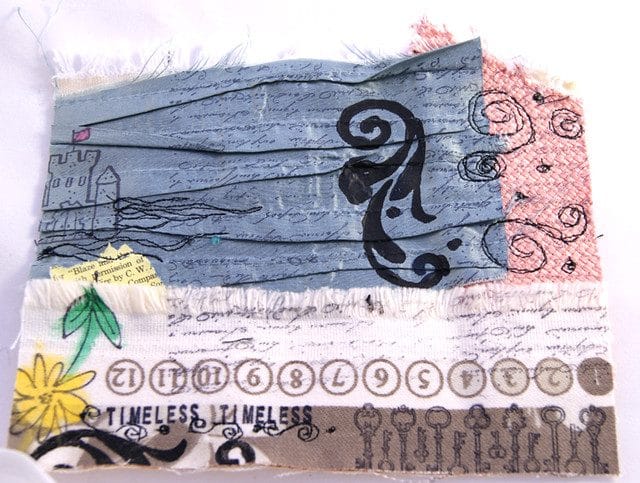
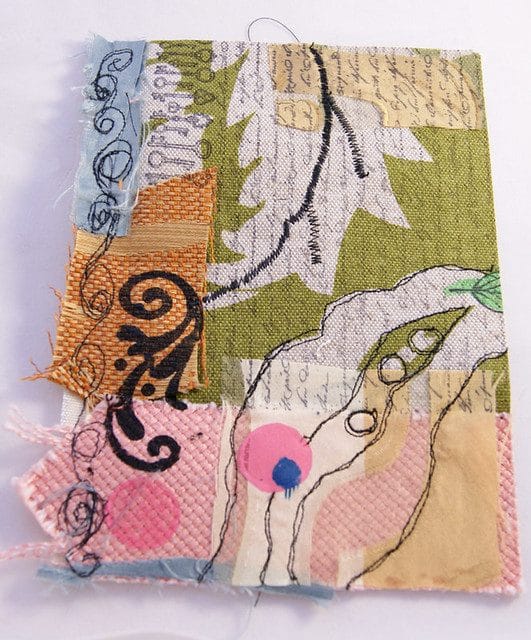
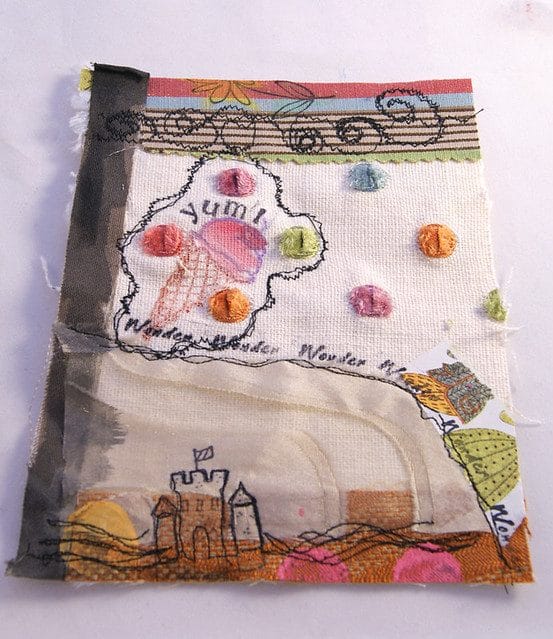
I encourage you to spend time experimenting with new techniques and materials! Not only is it fun, but it really does push your work to a new level. By giving up control on your imagery and composition, you’ll discover a few beautiful moments in your creativity that will take you by surprise! You’ll be excited to try them again!







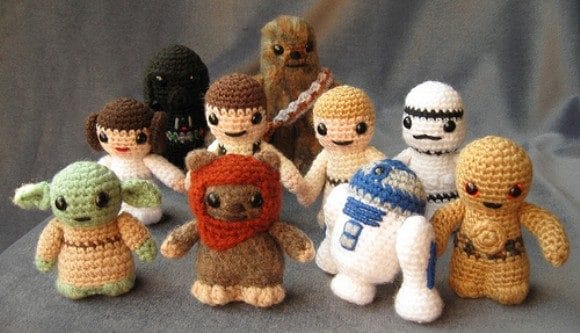 Adorable Amigurumi, patterns available from Lucy Ravenscar


 I wrote about thread-painting awhile ago, and am finally back working with the same technique. I am referring to it as “thread sketching” here, because I am only using black and focusing solely on line. These are experimental collage pieces, so nothing was planned in advance.


