Ribbon and Ruffles: A Story of Three Pillows, part 2 | Elysian Studios
Ribbon and Ruffles: A Story of Three Pillows, part 2
Categories: decorative pillows, sewing, textiles, tutorial
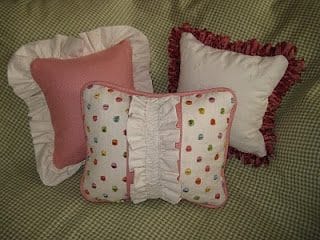 The third pillow of our giftable trio, is a bit more complicated than the others. It is adorable with its inset center panel, contrast welting, and applied ruffle, but each of these components must be constructed individually. Having one pillow stand out with unique design details makes the grouping look uniquely custom.
Like the others, this is an 8 inch pillow. Please see my previous posting on welting for details on how to make yours for this project. Cut your panels for both the front and back of your pillow. Since this pillow is for a child, I have figured 1 inch seam allowances for durability. My center panel is 5 inches wide x 10 inches high, which will result in a 3 inch center panel. The side panels are 4.5 inches wide x 10 inches high, which will result in 2.5 inch side panels.
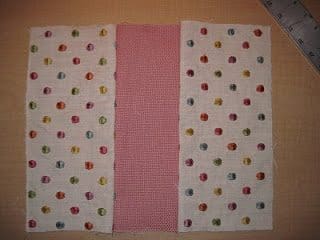
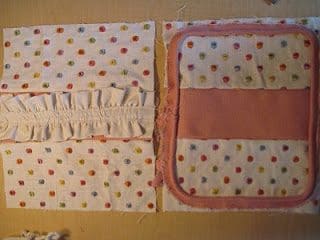
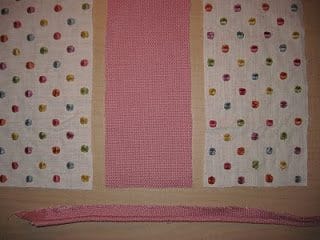 Pin center panel to the side panels and stitch using a straight stitch on your machine. Press open the seams to ensure the panels lay flat for the completed pillow.
 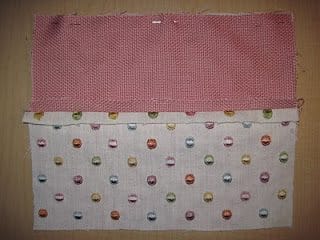 I made two identical sides, one for the front, to which I applied a ruffle, and one for the back, which I left plain.
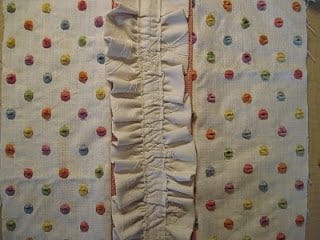
For basics on the ruffle, please see the Ribbon and Ruffles part 1. You will need two sides and one center component for the ruffle embellishment. The two sides can be made the same way the ruffle fringe for the previous pillow was made (shown at the bottom of the picture). The center panel is a narrow, straight strip with both sides turned under (shown at top). 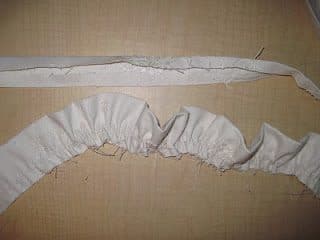 Stitch down both sides of the center panel so it will lie flat.
 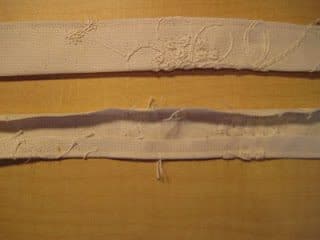 The center panel is then gathered in the same manner as the side ruffles. Take a thread from the spool and cut it a few inches longer than the center panel. Sew a loose zigzag stitch over it, in the center of the panel (shown at the bottom). Then gently pull the straight thread and gather the panel until the desired fullness is reached (at top).
 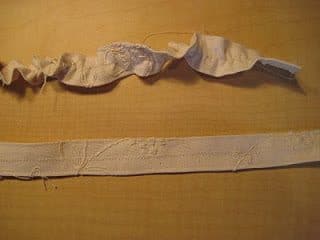 You should now have three ruffled pieces: two sides and one center. Top stitch the right side of your ruffle on the right middle of the center panel using a straight stitch on your machine. Sew the right side of the center ruffle on top of the right ruffle.
 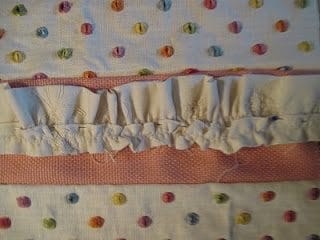 Tuck the left ruffle under the left side of the center ruffle and stitch in place. Whew! It is a complicated process and sounds confusing, but ruffles are amazingly forgiving. The difficult process will pay off with “oohs” and “aahs” when people want to touch and squeeze your pillow!
  Sew your welting to the other side of the pillow. For details on how to do this, please see my previous post on applying decorative cord and use the same process. This post will also show you how to add a zipper and finish your pillow.
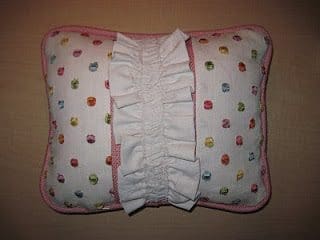
  Once you have the pillow sewn together, turn it right side out and stuff with your insert. Enjoy or give a handmade gift made with love to someone special!
 Tweet
Tweet

 The artwork in “The Lost Thing” reminds me of Joan Miro’s “Harlequin’s Carnival”. Miro is one of my favorite abstract artists, who created both paintings of bold color and line, and images like this one of fantastical scenes with shapes, lines and colors that look like they are playing at recess!