Month: January 2013

8424540158_7841d71b29-7090246

Caught On Instagram: The Breckenridge International Snow Sculpture Championships | Elysian Studios

8424540158_7841d71b29-7090246

My family and I had a great time viewing the 23rd Annual International Snow Sculpture Championships in Breckenridge this past weekend.  It’s an event we try to attend every year, though we had to miss it last year. You can see the sculptures from the 2011 event here  (it’s amazing how much less snow there is in town this year!)

Here’s what I caught on Instagram from our day:

8416514803_63bedb5a80-6568835
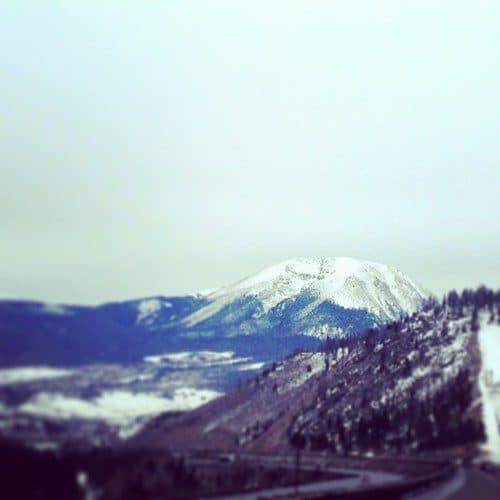
On the road from Denver to Breckenridge on I-70
8424421312_2f0ff6f5af-6394820
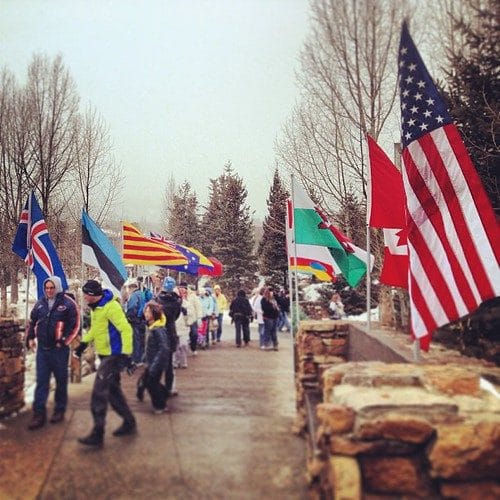
Sculpture teams of 5 people come from all over the world for this event

8423302163_1580f9eaee-7667766
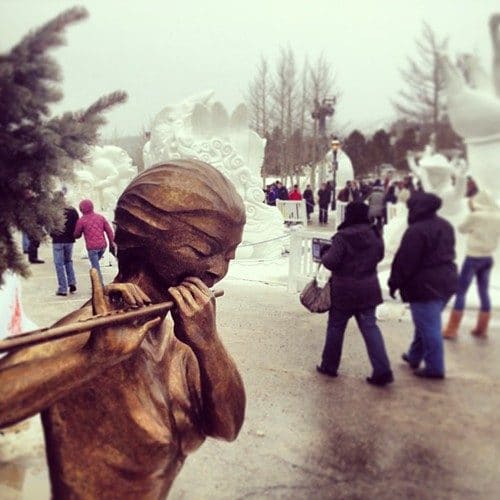
The snow sculptures fill Breckenridge’s Riverwalk Center
8424861692_914d4bdcf1-9097619
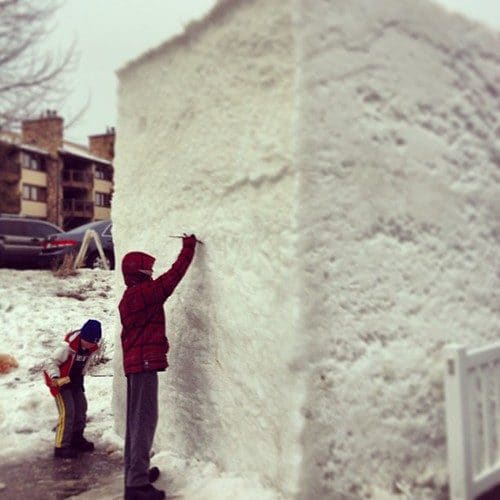
Each sculpture begins as a giant cube of packed snow.  Concrete forms are set up, and filled with  snow.  Local volunteers then have fun stomping down the snow to pack it into the form.
8423339187_64b3f3b0c2-3622417
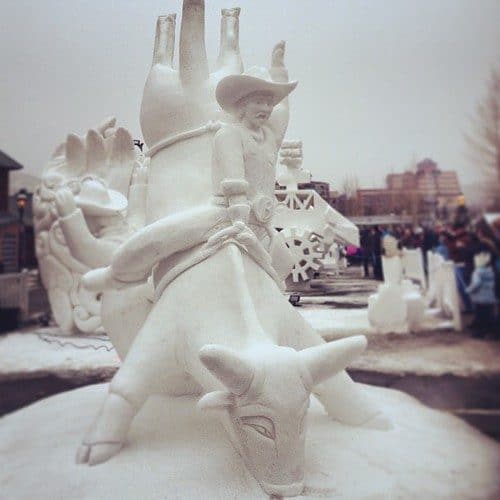
Team Breckenridge’s Sculpture

8418544874_423eabcc26-6002831

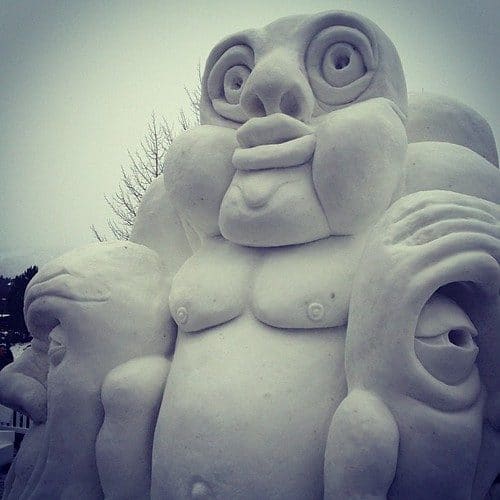
Detail of “The Seven Deadly Sins” Sculpture by the Wales Team

8424445462_29202545d3-7008670

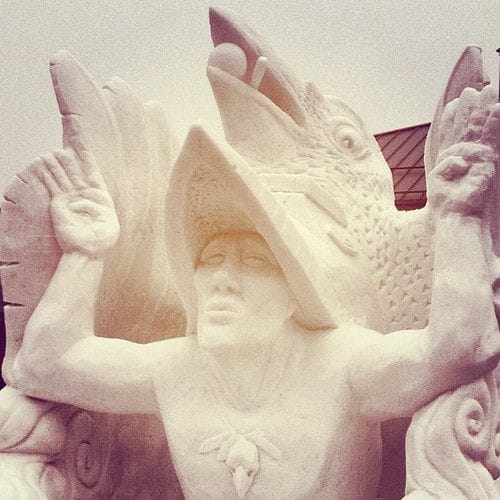
Team Alaska’s Sculpture

Many of the teams depict a story from their cultural heritage.

8423414015_2b1530c0b6-9337476
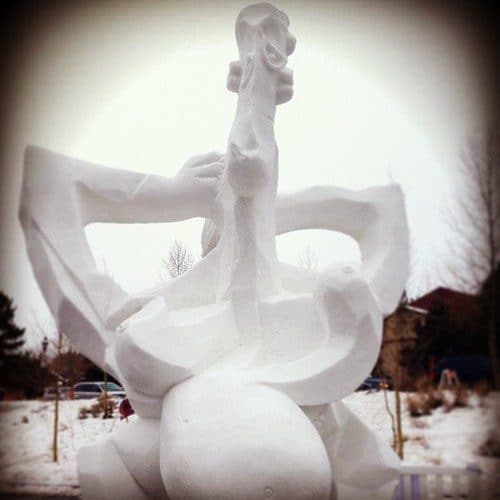
Team Spain’s Sculpture
Modeled after a Picasso painting, this ambitious sculpture took 2nd Place.

8424528262_d04caff872-5017163

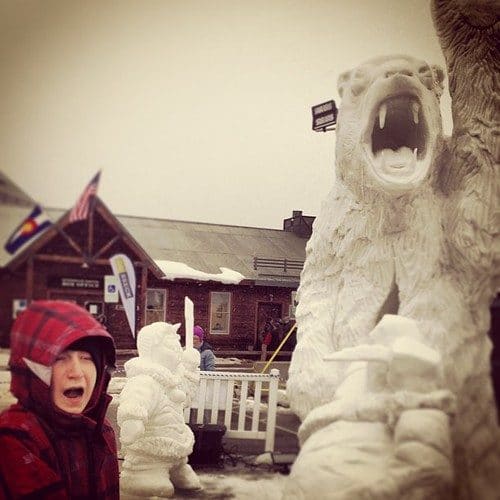
Team Yukon’s Sculpture 

This depicted a mythological story of a grandfather who was eaten by a polar bear.

His grandson was ready to kill the bear, but the grandfather escaped by cutting his way out of the bear’s stomach.  It was quite the dramatic scene!

This sculpture won the Kid’s Choice Award.

8423454371_8eae4883a9-5510011
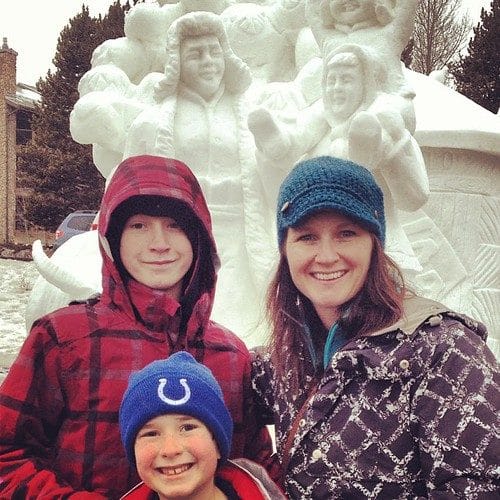
Viewing the International Snow Sculpture Championships is a wonderful event for the whole family!

 Learn more about the International Snow Sculpture Championships, and see the beautiful professional photo gallery of the sculptures (I highly recommend it!) You can also see the winning sculptures here.

It’s so much fun to see people expressing their creativity in such a unique way, and it is always wonderful to see so many people out and about enjoying art!

8371972852_01be766288_c-9123055

Creative Exercise: DIY Zentangle Quote in Watercolor | Elysian Studios

8371972852_01be766288_c-9123055

The New Year is full of potential and possibility, and what better way to remember that than to transform an inspirational quote into a beloved piece of art.  It will continue to uplift your spirit throughout the year! 

This is a very simple creative exercise for anyone to try.  Have you ever tried doodling in the Zentangle style?

I have another simple Zentangle tutorial here.  

You will need:

pencil, eraser, waterproof fine-tip pen 

ruler, masking tape

watercolor paper and watercolor set

paintbrush, or water brush

water and paper towels

The following aren’t necessary, but will allow you to create additional effects:

watercolor pencils, watercolor crayons, masking fluid

Step One: 

8370885041_34d73840c6_z-7582332

1. Gather your supplies, and use the masking tape to tape down the paper to your work surface.

2. Brush plain water all over the paper.  Choose a paint color and create a light wash over the entire paper.

3. Use a paper towel to blot over the painted paper.

4. This creates a nice base for your image.

Step Two:

8371954474_2a469f1c2c_z-7042140

1.  Choose a quote or saying for your artwork.  Need inspiration?  You can find lots of great ones on Pinterest.

(Click Here to see my Inspirational Text board)

2. Using your pencil and ruler, lightly draw lines across your paper, creating areas for the words of your saying.

3. Draw the words of your saying lightly in pencil.  Again, getting inspiration from Pinterest or the internet is helpful.  Experiment, and have fun! Try different styles.  You can always erase it if you don’t like it!

4.  You may want to leave some areas that are for patterns/doodles only.

Step Three:

8371954570_629a6baaa9_c-2878005

Once your text has been drawn in pencil, go over it with your waterproof pen.  Begin to fill in Zentangle patterns (get ideas here) and pattern doodles (get ideas here). Look at a variety of sources for inspiration!  I put my phone or Kindle Fire right next to my work area and then refer to it when I need a new pattern or idea.

Step Four (Optional):

8370885283_66a92d06c0_z-8378066 

1.  Masking Fluid is available at all Arts & Crafts stores.  It is a nice way to preserve areas of your watercolor, and allows you to paint right over it.  Choose a few areas you would like to keep the original paper color, and apply masking fluid over it.  Be sure to use a junky brush!  Here are a few more tips for using masking fluid.

2.  Fill in the areas with paint or watercolor crayons, going directly over the dried masking fluid.  A good way to protect other areas of your painting is to simply cover them with a post it note (for dry media only).

3.  See how the drawings appear to be on the lettering?  They will rub off with the masking fluid!

4.  To remove the masking fluid, simply rub gently with your fingers.

Step Five:

8371954220_a0860dcbe4_z-7526619 

1.  A water brush is an easy way to work with water media.  They come in a variety of sizes, and have nice quality bristles.  You can dip the tip of it directly in your watercolors and then paint immediately onto your paper.  The water reservoir allows you to control just how much water goes onto your paper.

2. Use watercolor pencils or watercolor crayons to color directly onto your paper.  Be sure to leave open areas where the paint can flow when you add water.

3.  Use your water brush, or a paintbrush dipped in water to liquefy the color and fill in the colored area.

4.  Watercolor crayons create a more saturated color, but work better in bigger areas, like this basket weave pattern.

The Completed Zentangle Quote in Watercolor:

8372902563_52569b7eb2_c-9380983

I hope you give this a try!  This is a great exercise to remind yourself to think positively.  It would also make a great gift for someone else!

If you have any questions, let me know- I will be happy to help!

I wish you a very Happy 2013!

Ringing In The New Year With The Best Posts from The Last | Elysian Studios

HAPPY NEW YEAR!!

I’m celebrating 2013 by taking a look back at all the fun we’ve had in 2012!

These were the Most Popular 10 posts
from the Elysian Studios’ Blog last year:

8344238268_187c5eaa7e_o-4219927

Please Click on the Links Below to Read the Full Posts:

#1: Creative Exercise: Make A Zentangle Inspirational Text Drawing

#2: DIY Elegant Holiday Cheers!

#3: 7000 Bracelets For Hope Blog Hop

#4: Pantone Colors Of Spring Blog Hop

#5: Elysian Studios Goes Postal

#6: DIY A Beautiful & Simple Baby Gift

#7: Challenge of Music Blog Hop

#8: DIY “London Calling” Scarf

#9: DIY Origami Crane Mobile

#10: Create With Kids: Pollock On the Patio

What a year! I hope you have found a bit of inspiration in these posts.  I can’t wait to create more for 2013!  Thank you so much to everyone who continues to read the blog and support Elysian Studios!

HAPPY NEW YEAR!