August 2010 | Elysian Studios
Art Tour: Vail,CO
Snapshots from the Beaver Creek Arts Festival
Art Tour: Beaver Creek,CO
Functional Fasteners: How to Add a Zipper
ETSY Treasury: Embellished Seams
Creating Your Own Welting
This week I am making new decorative pillows for my family room sectional. I need to make a total of seven! I have designed my pillows, picked out my fabric and coordinating trims, and have purchased my thread, zippers and pillow forms. I will be making my own welting, sewing decorative cord, and installing zippers for functional ease. Having never done this type of sewing before, I assure you it is easy as long as you have the proper tools and are willing to go slow and pay attention. Once you have tried it, you will never make a boring pillow again!!
You will need a sewing machine with a zipper foot (a piping foot is ideal, but I only have a zipper foot, and it works fine), 1/2 yard of coordinating fabric for your welting in addition to the amount required to make the body of your pillow, a straight edge and marker, coordinating thread and welting cord. Welting cord is plain cream cotton, and comes in various sizes. I chose a thicker size that gave me a 1/2″ welt size. I bought my cord at Walmart, so it is very easy to find.
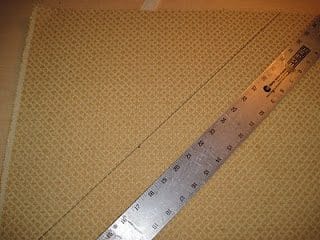 First, you will need to establish the width of fabric you will need to fold over your filler cord. You will need to add at least an inch to the width of your cord so you end up with a selvage, or flange on your welting that will be sewn in the seam of your pillow. I went with 2 inches. Then make lines at a 45 degree angle 2 inches apart on your fabric. Cut your fabric on these lines, creating strips. It is very important that you cut your fabric at this angle, also known as the “bias”, as it allows the welt to stretch and bend around the corners of your piece.
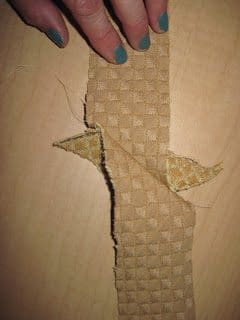
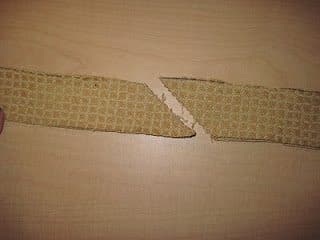 Once your fabric is in strips, begin piecing them together. Line up each section as shown above. This step can get confusing and feels weird at first. Don’t be afraid to make a mistake and then rip it out and try again!
 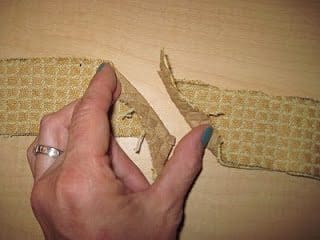 It is helpful to press back your seam allowances here so you can see how to sew the pieces together. Pin your two strips together at the bottom of the folds, where you will be stitching. When you get the two strips laying flat, they should look like this. You will be stitching where the pin is placed. Again, this is the most confusing part of the whole process, but you will get the hang of it!
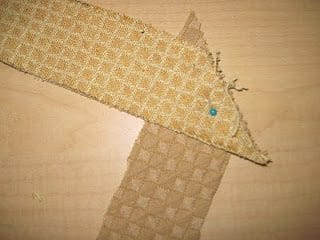
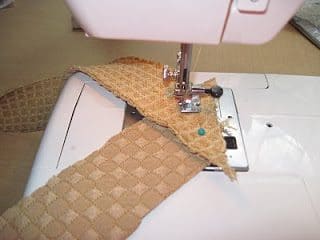
After you have stitched the two strips together, you should see a seam like this. See how imperfect my edges look? It is ok! As long as you have enough width to fold over that fill and leave a selvage so it will hold in the seam of the pillow, you are good to go. Continue to sew your strips together until you have enough length to match the length of your filler cord.
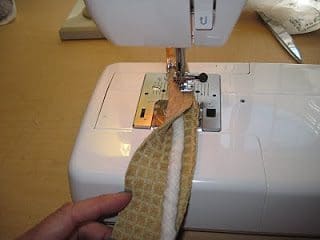
Now you are ready to make this look like welting! Install the zipper foot on your machine (or piping foot if you have one!) Fold your fabric strip over the top of your filler cord and start sewing in a straight line down right next to it. It is very important that you get a tight fight, and sew as close to the cord as possible. You do not want your cord to shift, and you want to give yourself as much of a selvage as possible to work with.
 Once you have your welting finished, you can pin it onto the right side of your pillow fabric (I will show you how to do this in more detail on my next post about sewing on cording… the same technique applies). One thing that is unique to welting, however, is how you join the two loose ends together once you have pinned it all the way around your pillow. Once your cord meets up, allow for a bit of overlap, and then take a seam ripper and open up the seam on one side of your welting.
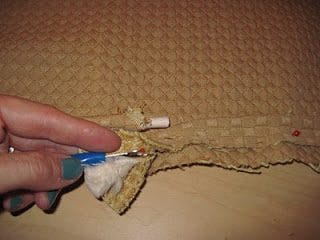
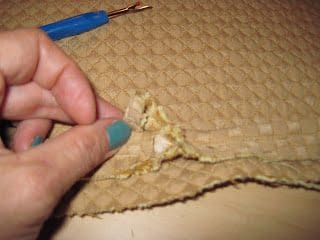
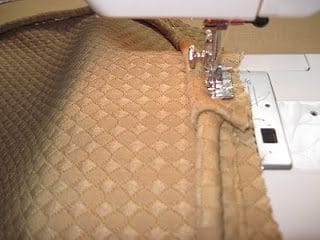
Then you will snip the filler cord at the place where it matches the fill cord on the other side. You don’t want it to have a gap, but you don’t want the cord to overlap and be bulky either, so try to be as precise as you can. 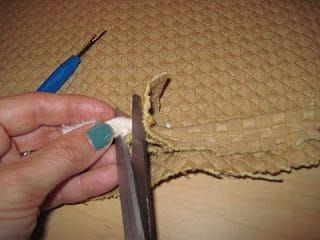 Now you will fold back about 1/2 inch of the welting fabric and wrap it around the other side of the welt, creating a sleeve. Sew as close to this join as possible. It is bulky here, so go slow and manually turn your machine if you need to. It will take a bit to get used to sewing through so many layers of materials!
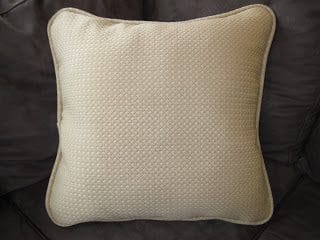
 I will show you how to install the zipper in future posts, but once you get all of your components of the pillow together, look how great it looks! This is a custom item that can’t be found anywhere but my living room! I encourage you to think about welting as an option to customize your future sewing projects too!
  Tweet
Tweet
Embellished Seams
New to Blogging too?
Sewing Construction
This month I am setting out to teach myself the details of sewing construction. Both an opportunity for unique design and functional ease, details such as welting, zippers and ruffles take a sewn project to new levels.I have sewn for years, starting with a horribly ugly sack-style tank dress I made in high school, and have always learned by trial and error. Sewing is as much about deconstructing as it is about constructing! I know my way around a knife-edge pillow and simple seaming, but now I want to expand my skills and create beautiful items for both the home and wardrobe.
What makes a custom-sewn item stand above the products you would find at your local big-box retail store? DESIGN and CONSTRUCTION. Not to say that Target, Macy’s and Nordstrom’s don’t have beautiful items to choose from, but a hand-crafted item has a design that is all its own. It may share similarities with stock goods, but its color and design should be unique to itself. These are not items that stream off mass-production conveyor belts. A custom item guarantees you won’t find yourself in line behind someone with the exact same Coach bag, or hosting a party with guests saying “I have that pillow from Pottery Barn too!”
The second benefit of a customized piece from an artisan is the attention to construction detail. The creator builds a piece from scratch, paying attention to raw material quality, seams, and attached embellishments. Missed stitches and flawed function have less chance of being overlooked when an artisan lovingly assembles a creation of their own design. These days with the help of social networking and great sites like Etsy.com, finding beautiful handmade objects is easier and more affordable than ever before. I encourage you to think outside of the limited options you find in your mail order catalogs, and get online to look at this great work! Many artisans stand behind their product quality much better than corporate retailers, and nothing is as lovely as something made with heart.
http://www.etsy.com/

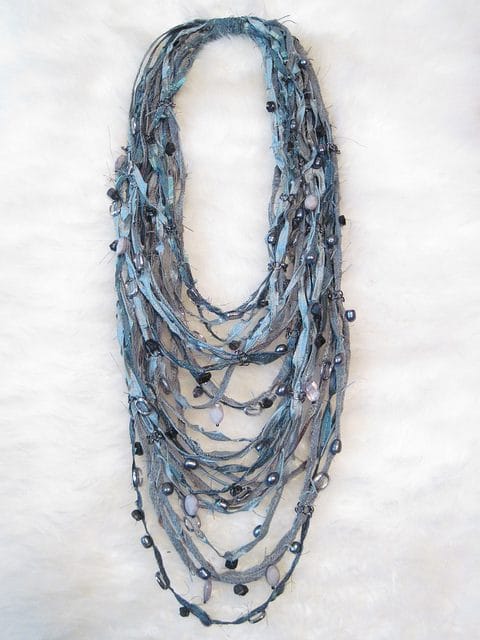
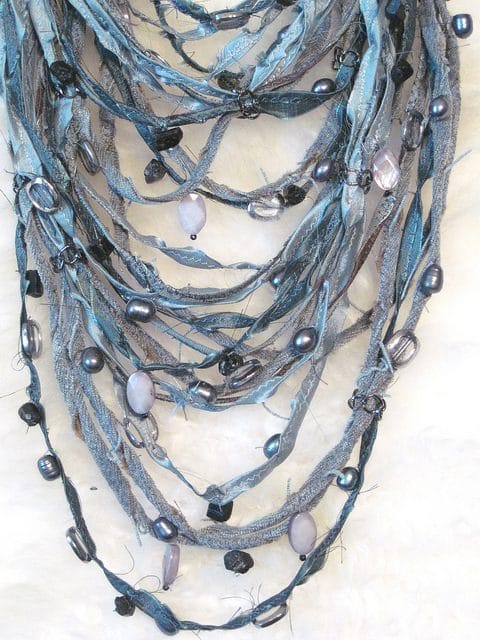
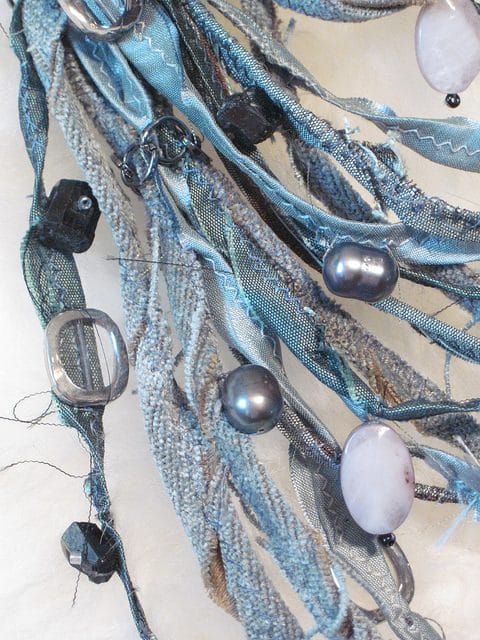
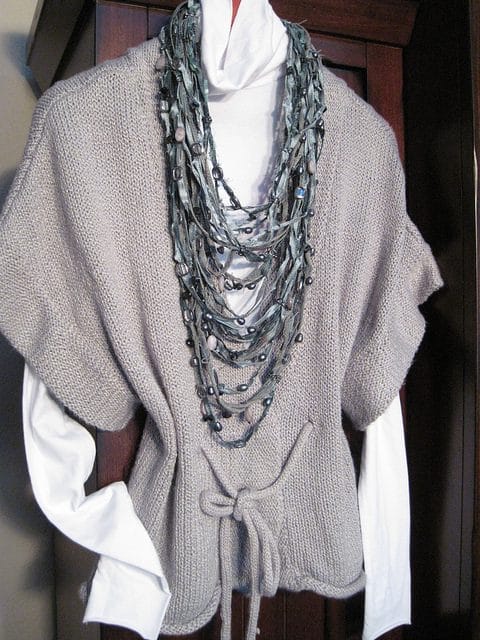
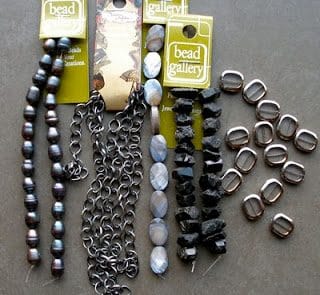

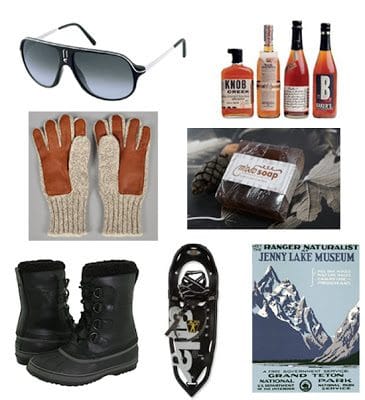 From top left, clockwise:
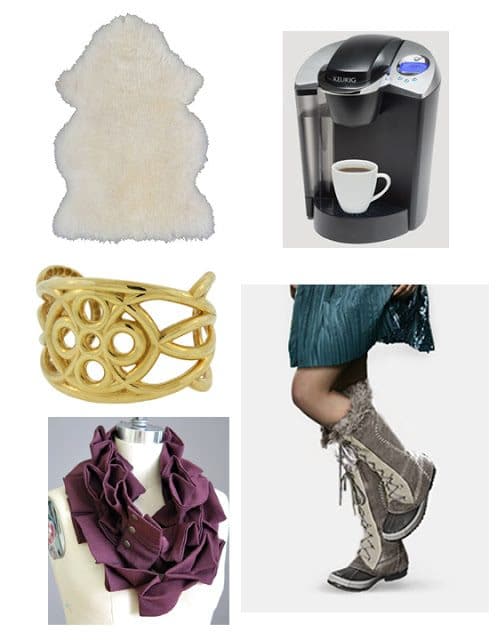 From top left, clockwise:

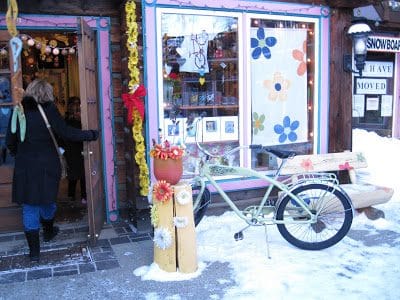
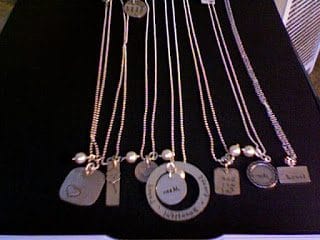
 Being in this shop just makes you feel like you are cruising around on their signature bike, happy-as-can-be. It has adorable handmade goods by a variety of artisans, at very reasonable prices! I was shopping with my mom, and we both had to stop and decide what we were buying, ’cause there was no way we were leaving without picking up something cute to remember our day! I bought three prints on cards by Cathy Dailey Designs, that I will be framing together. Her images of birds and dogs crack me up! Visit her Etsy shop here for originals (they are so reasonably priced, I would have bought one at the shop if they had any on hand!)
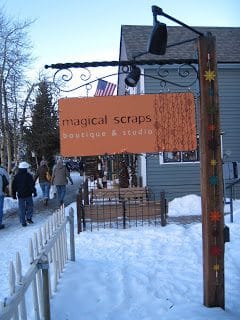
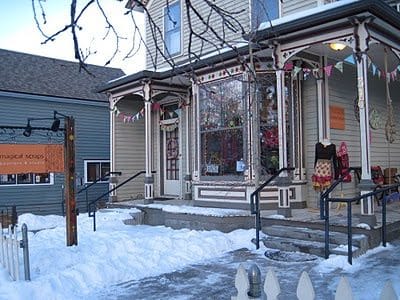
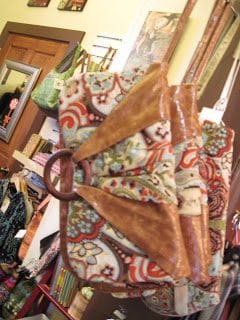

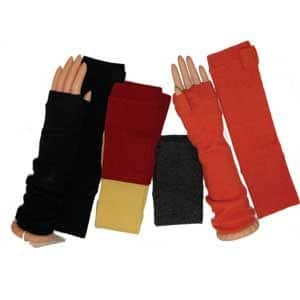
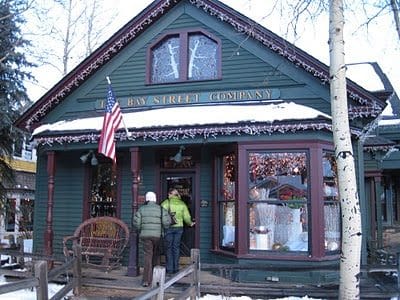
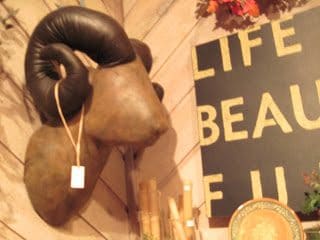
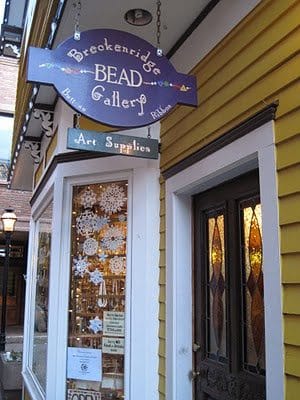
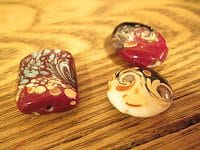 Next visit to Breckenridge will be all about the galleries, and we’ll explore what fine art they have available. But today was fun, lighthearted shopping! Plus, we had hiked it up and down the sledding hill at Carter Park that afternoon, so we were tired…and on our way to Eric’s for a beer!