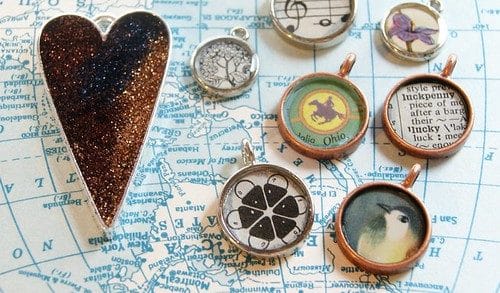
Last week, I shared this photo of some pendants I was working on, using ICE Resin. Due to the excited response from many people who have wanted to try this material, but haven’t quite mustered up the courage, I decided to create a tutorial to share.
This is a wonderful product that has enormous potential, and I encourage you to give it a try!
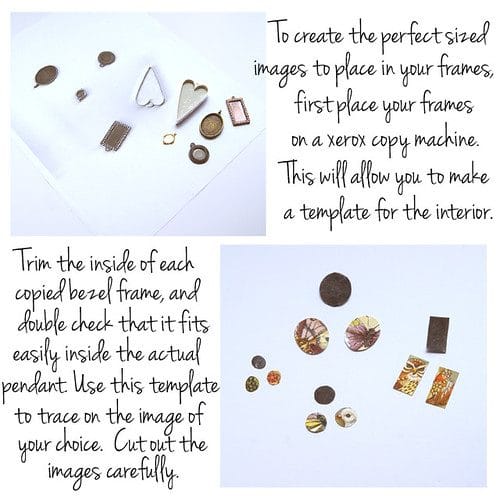
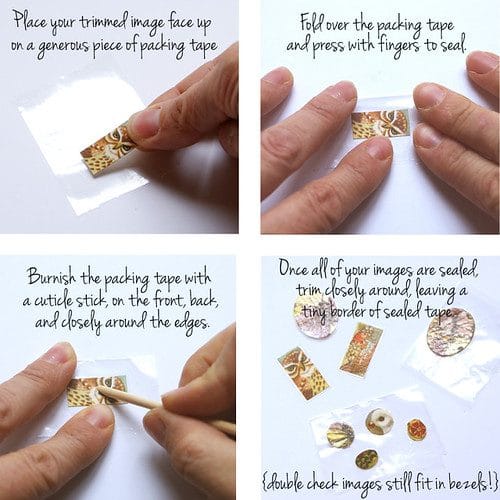
Once you have all of your images sealed and trimmed, make sure they still fit nicely in your bezels.
If they are too small, a good remedy is to use your acrylic paints to paint the inside of the bezel in a color that coordinates with the image. If they are too big, you may be able to burnish the image in. If it still pops up, you will have an air bubble problem, so you will have to re-trim. You will also have to make sure you reseal your image. If you have used the xerox technique, you should be able to avoid this problem.
To pour the resin, watch this video:
Did you see the cool Heart Pendant I mentioned in the video? Stop by my Facebook page to see how I made it! {It’s reversible!}
I hope you try working with ICE Resin- it really is a great way to customize your jewelry.
Have you worked with other resins? I’d love to hear about your experience!