Artists at Play: Bead Table Wednesday
Categories: Artists at Play, Bead Table Wednesday, beads, BTW, jewelry, tutorial
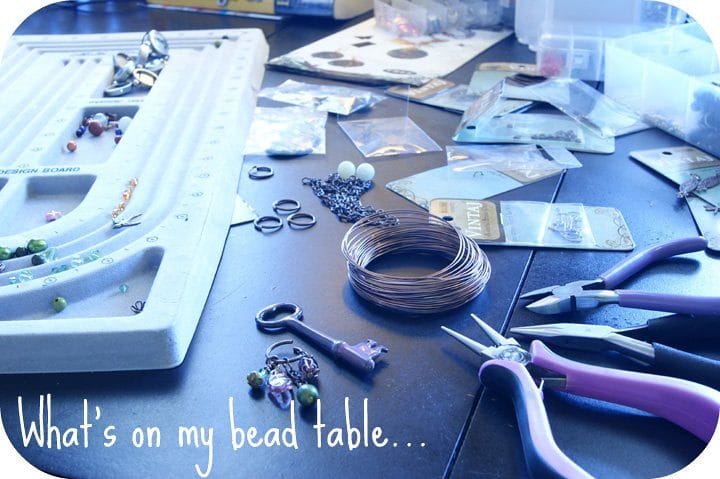
I’ve joined the Bead Table Wednesday Flickr Group, and will be welcoming you to my studio at least once a month to update you on my most recent jewelry endeavors!
Currently, I find myself obsessed with all things Vintaj! I’m late to the beading party, so I have just discovered this wonderful company that offers brass components and embellishments for your custom jewelry. Here’s the best part, most are designed to be altered! Look out, because I am about to go crazy with stamps, inks, hammers, punches and this amazing product called “Magic-Glos.”
I am on a quest to unite my love of painting, jewelry and fibers. This is going to look different as I move from one emphasis to the other, but I am really drawn to mixed media art. I have created jewelry for years, but I find myself revisiting simple linking, looping and wrapping techniques. Proficiency at basic technique is always essential, so I’m sharing these easy tutorials I practiced this week!
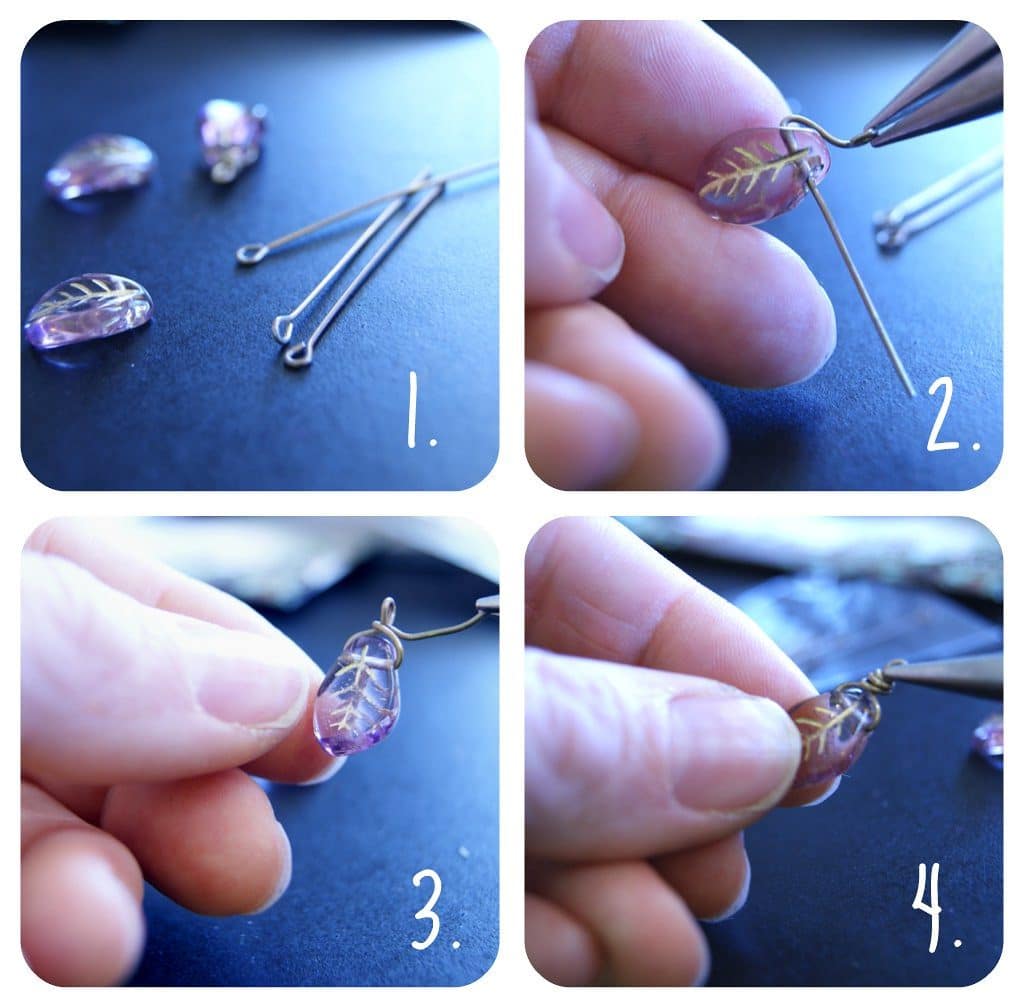
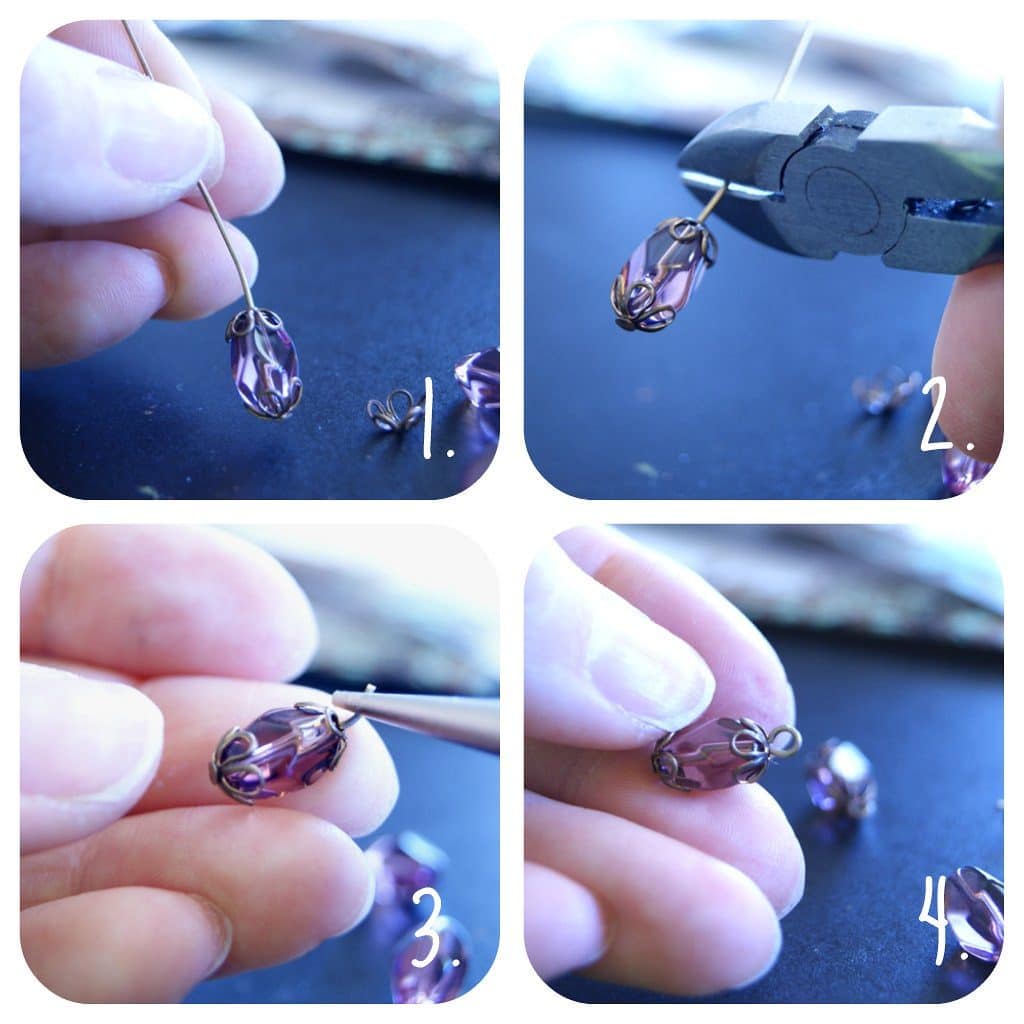
2. String the bead onto the eye pin. Bend the looped end of the eye pin back over the top of the bead, leaving about 1/8 inch between the loop and the top of the bead.
3. Bend the long, straight end of the eye pin so that it crosses in front of the neck of the looped end at the top of the bead, then wrap it behind.
4. Using chain nose pliers, continue wrapping the tail end tightly up the neck of the eye pin to create coils. Trim any excess wire with the side cutters, and tuck the end of the wire into the coils.
You will need: head pins, bead caps, beads, round nose pliers, side cutter pliers
1. String the bead cap and the bead onto the end of the head pin.
2. Using the side cutter pliers, cut the head pin approx. 1/4 inch above the bead.
3. Use the round nose pliers ro grip the end of the eye pin, pulling toward you at a 45 degree angle.
4. Begin turning the end of the pin away from you, using the jaw of the pliers to form a loop. Secure the end of the loop into the bead cap.
Now you have the building blocks of linking bliss. Add some jump rings to secure your newly looped creations to bigger jump rings or chain. I am working on a “Monet” inspired focal, which features that lovely purple key (in top photo) that I won from Love My Art Jewelry, and lots of dangling, linked beady-goodness!
What’s on your bead table? Join us!